For the second time since buying this house, I decided to address the issue of how the house and yard look from the street. Back in 2016 I got a chainsaw and a chipper and cleaned up the front somewhat so you could see the yard, but there were still two big stumps and a ton of fallen timber that was too big for the chipper.
Well, yesterday I bought in the big guns. I hired my friend Steve to clear it all out once and for all. Here is what the place looked like before we did anything:
Fallen tree trunks laying everywhere:
Then we arrived with a track loader equipped with a grappling claw:
Steve got right to it:
Remember the "conjuring tree" which became a stump the first year, well there are no more stumps in this yard:
The end result is fantastic, I just need to spread grass seed and keep up with the mowing now. Here's a before and after of the view from the shoulder of the road:
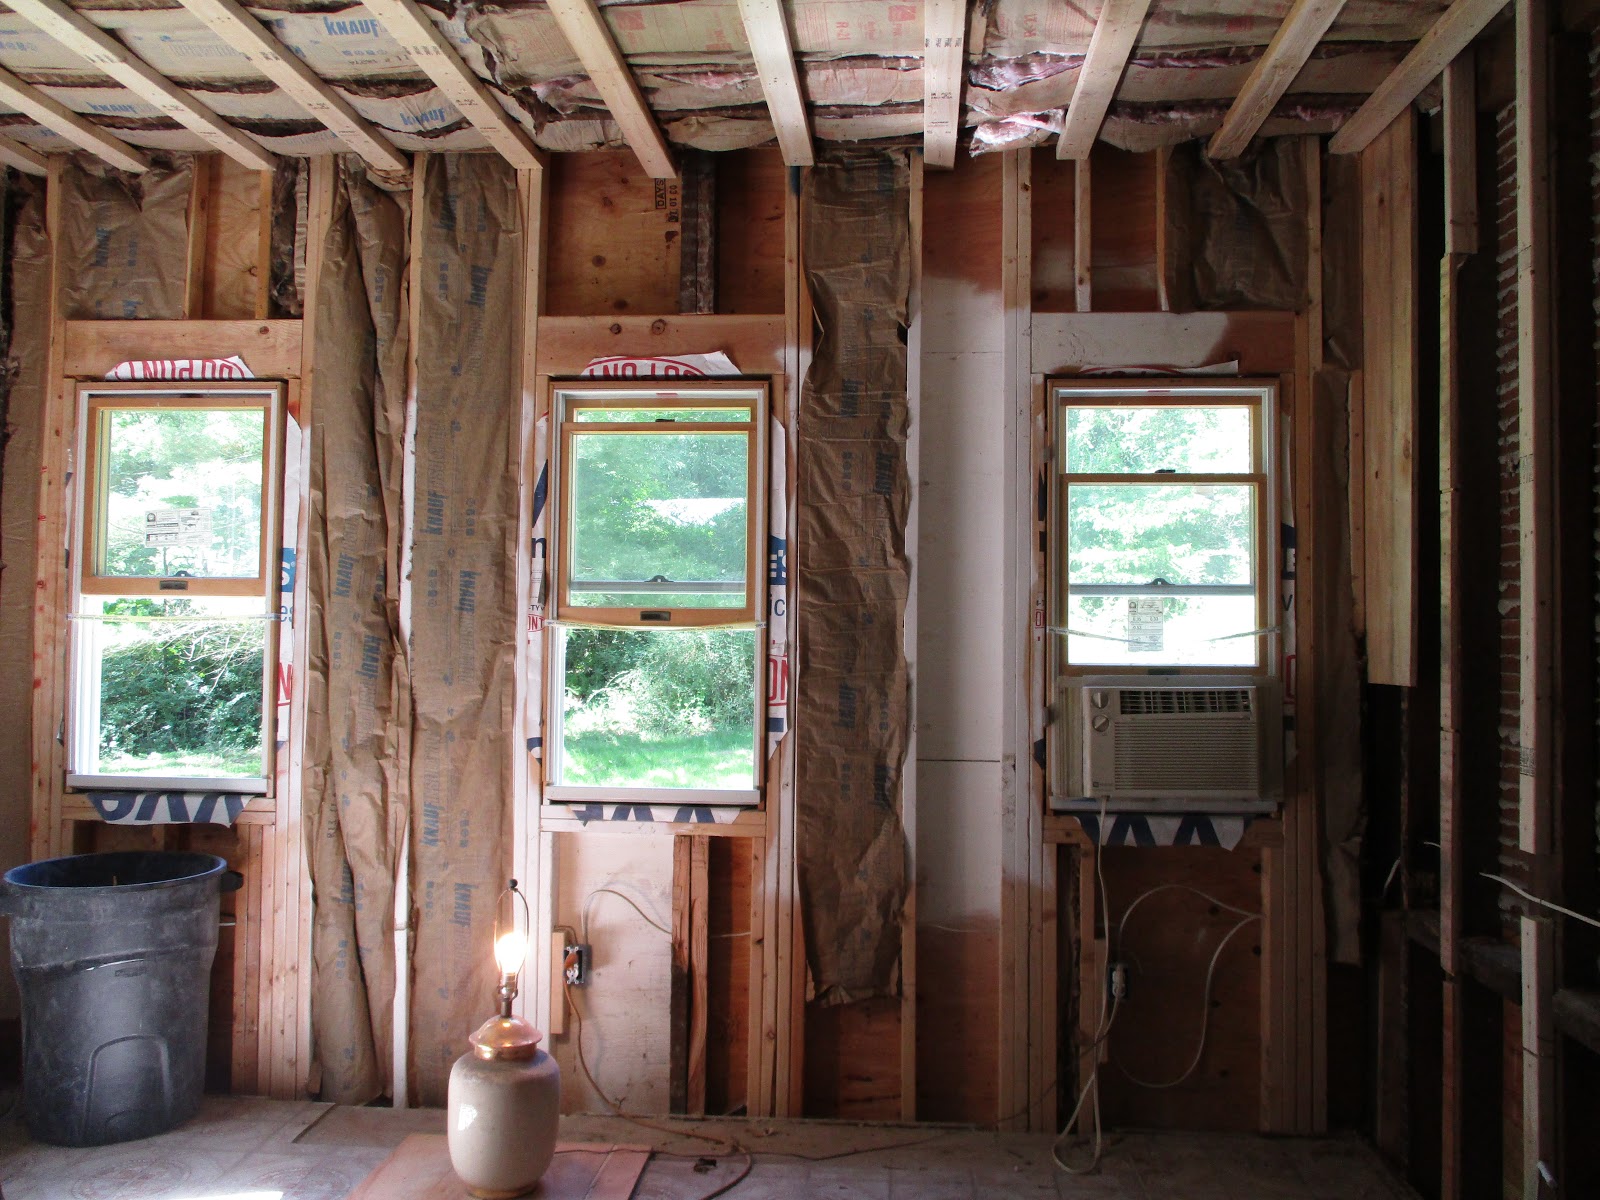
I may be getting a bit ahead of myself here, but what the heck. After the sheetrock is spackled & sanded, and the walls are painted in the piano room, the floor will need to be repaired. The plan all along has been to repair it only where needed.
As you can see in the photo below, the floor in the piano room was done with a 6" square porcelain tile. All except for the area where the piano was on the right, and where a built in piece of furniture was along the back wall. Furthermore, there was / is a hole in the floor where five tiles are broken and the plywood below them is soft.
We found roughly thirty (30) brand new matching tiles for this floor down in the basement. The plan was to repair the hole in the floor and pull up the wooden section where the piano was and replace all sections with brand new matching tile.
That was the plan until today. You see, today my boss was kind enough to give me (free) 130 square feet of eastern white pine hardwood flooring. Now, I'm kind of toying with the idea of ripping all the tile out and putting in some wood flooring.
The pine planks are 7" wide tongue & groove. Yes, it is not the style of wood floor that was originally in this 1861 house, but neither is the porcelain tile. The wood would look so good, and would compliment any wall color, whereas the tile has a pale pink hue to it that severely limits the decor of the room. I still have to run it by my wife Robin and see what she thinks, but I'm leaning toward the pine.
Well we got all the gypsum drywall up on the ceiling. We got the north wall opposite the kitchen pretty much done too. We had time to finish it all, but I'm getting very forgetful in my old age and I forgot to buy more drywall screws. Yeah, we ran out of screws. I'm a dummy.
I also bought the luan underlayment for the kitchen floor, as well as the vinyl floor itself.
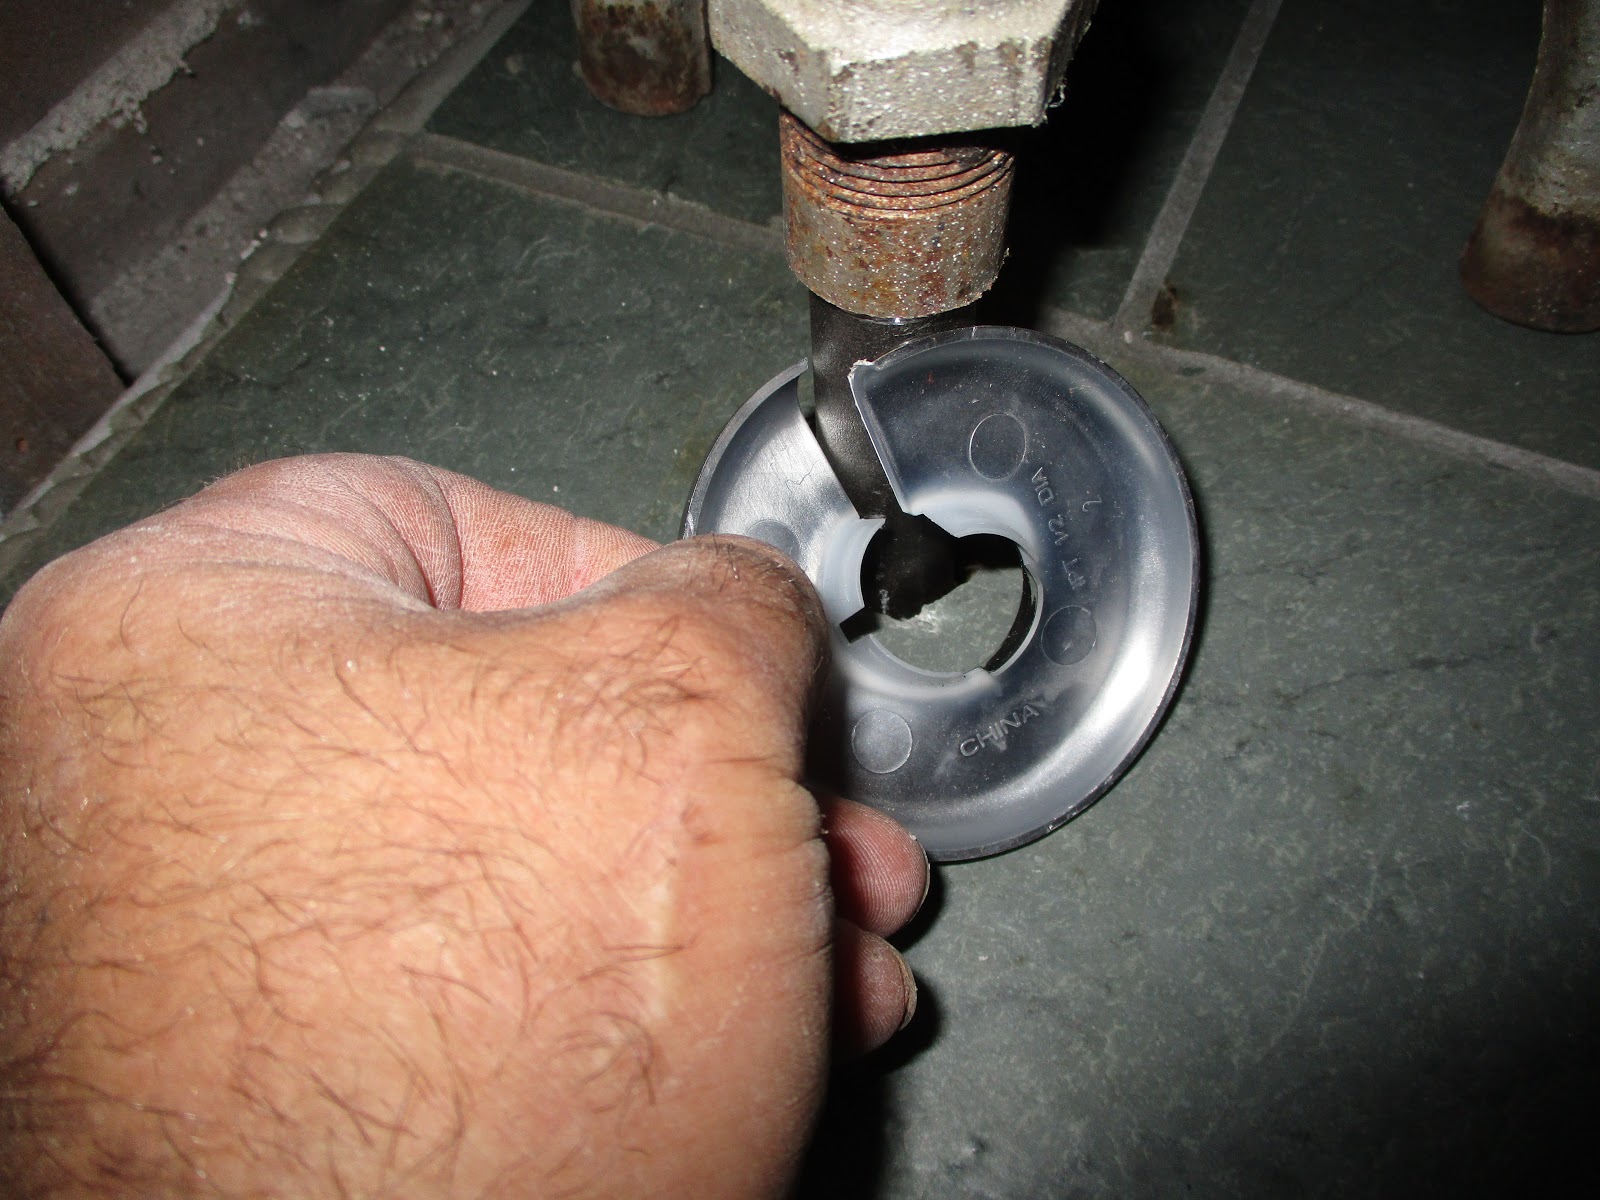
I went up to the house this morning and insulated the piano room. I also re-positioned the radiator in the hallway where it will permanently reside. Upon sliding the feed and return pipes through the floor and into position, I noticed the need for some escutcheons. You know, those round decorative bits that cover the hole in the floor. A trip to the local home improvement store resulted in my purchase of exactly what I had feared: Cheesy chinese plastic horse-crap escutcheons with a split in them to fit around the pipes and a horrible simulated chrome finish.
At two for a buck, I bought a bag. I looked for alternatives, I really did. For the much smaller 1/2" pipes there was a flimsy one piece chrome one that was made from some type of metal rather than plastic, but also was made in china and looked like crap. For the bigger 1" -> 1.5" pipes there were these god-awful looking hinged nightmares that I did not even consider. So, I took my pair of plastic donuts back to the house and confirmed that they look like crap and then threw them in the garbage.
A google search revealed that there are nice ornamental bronze/brass ones out there, but they cost around $25 each and are a week away if I order them now. I have 8 radiators to re-install and plumb, so thats $400 for fancy escutcheons!
I thought about buying a chunk of bronze and making my own since I have a lathe in my garage. The cost of bronze was more than I expected, so I considered getting aluminum and using that. Then it hit me! It might seem real stupid, but at five cents apiece, I have to try it: aluminum soda cans!
It took only seconds to make one, so I made ten. Then I ran back to try them out on the radiator.
Truth is they look ok, not great, not amazing, but ok. They look better than the plastic donuts, but I might actually order the nice bronze ones and swap them out.
Hot day today in Pennsylvania! Had to cut it short today after just four hours of work, but that's ok we got a lot done.
Rob sealed the new floor in the hallway, he installed the last piece of chair rail in the kitchen, installed a deadbolt on the back door, and helped me install all the new studs in the piano room.
With all new 10' studs in the ceiling, I installed the octagon box for the ceiling lamp and ran the wiring from the light switch.
The last thing we did was to "sister" the five sideways studs in the north wall by using 2 X 3's nailed into the faces of the studs. The two conventional studs on the left side were then bought to flush using strips of 3/4" plywood. Lastly a new 2 X 4 stud was added on the right side .
I was planning to insulate the back wall, but the heat was affecting Rob's breathing so adding fiberglass to the situation was not advisable. I will insulate during the week on a cool morning. Then next weekend we hang the sheetrock!
Edit (6-8-2020)
Nice and cool this morning, so I ran up to the house with three and a half rolls of the itchy stuff. Forgot to bring scissors or new sharp razors, so cutting it was treachery! Got the ceiling done and most of the back wall. I need one more roll to finish it.
The slate floor is done, Rob filled all the gaps with natural grey sanded grout today. The only thing that remains to be done is an application of sealer after 72 hours of cure time, and install the baseboard moulding down both sides of the hall. The gray color of the grout will dry to a much lighter shade, but here are the pictures of the completed floor today.
While Rob was grouting, I installed a bit more plywood on the kitchen floor and installed the last outlet box on the south kitchen wall. After that, we joined forces and finished the wainscoting and baseboard moulding on that same south wall. Only the chair rail moulding remains in the kitchen, then the vinyl flooring can be laid down.
update (6-6-2020)
Chair rail done, and slate/grout has been sealed.
Rob did it! He is the man. The hallway and entranceway slate floor was installed today. Rob pretty much did the entire thing by himself, creating a repeating pattern that fit perfectly into the area with very minimal cuts. First he pulled the cement board up and applied a layer of thinset to the subfloor, then he re-installed the boards and screwed them down to the subfloor with 250 screws! Here he is when he started this morning.
After the cement board was all screwed down, Rob began laying down the slate tiles. With only two cut tiles (around the newel post) and two holes cut through the tiles for the radiator pipes, he worked his way down the hallway.
While Rob was doing his thing in the hallway, I was cutting and fitting more plywood onto the kitchen floor. After bonding a few sheets with construction adhesive, I nailed them in place with the nail gun. Once I had enough sheets down, I bought in the new(old) 1946 GE refrigerator.
Yes, the bottles of water and Rob's iced coffee was incredibly cold after just an hour in the fridge!
Rob finished up the floor except for a small section on the left side of the entranceway. This will be finished up next week when the grout gets installed!