Monday, June 10, 2019

I hate sanding joint compound.  I'd rather do anything but that, especially when its on the ceiling.
Nonetheless, that is what we have been doing:  sanding, spackling, let dry, and repeat.

I did, however, get the new kitchen wiring connected to the circuit panel and confirm that everything works.  I have a ceiling light and a functional old art deco lamp above the sink.


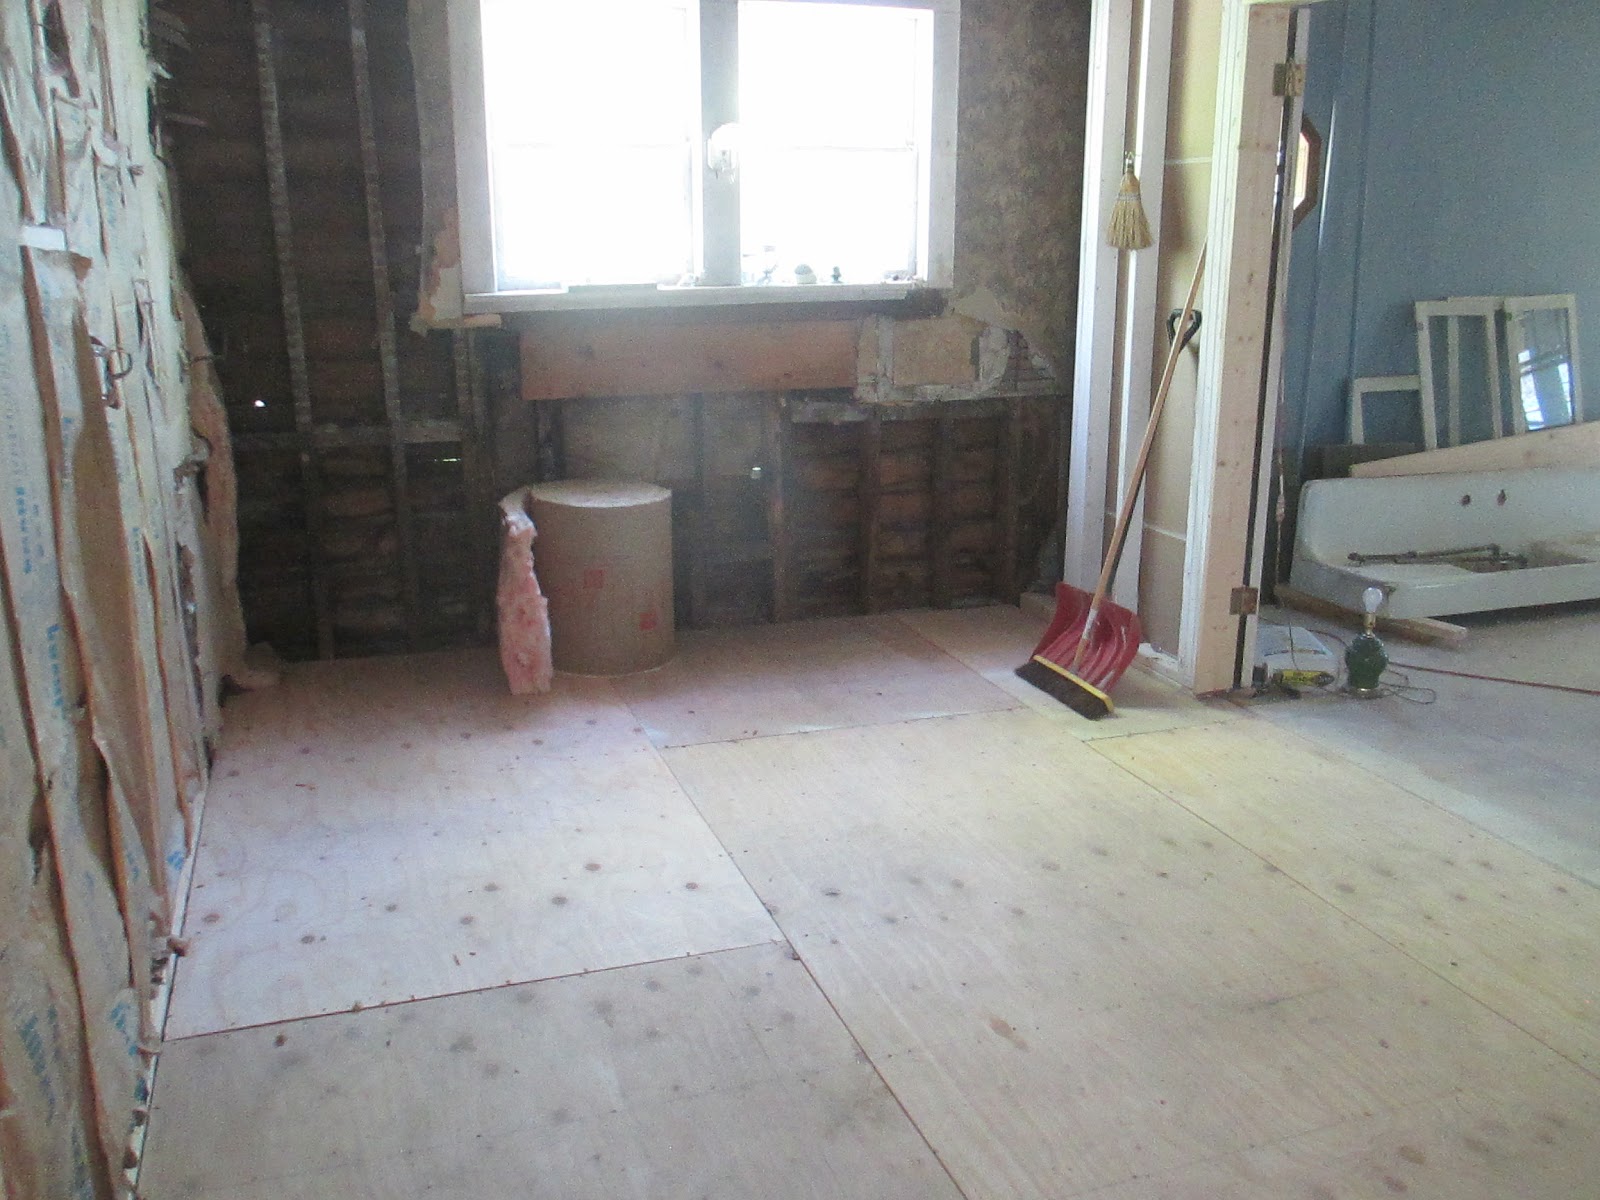
 The rest of the room still looks much as it did last week, except for the one corner we finished.


Sunday, June 2, 2019

Still moving along. The next few posts will probably be very boring, as we're to the point where we just sand and re-spackle till its smooth, then eventually paint.


Sunday, May 26, 2019

Progress!  The ceiling is done and ready for tape & mud.  The rear wall is nearly done too, and we started the wall opposite the dining room.

And yes, the wall behind the cabinets is done in 1/2" plywood rather than drywall.  It's easier to hang cabinets to it, and it will be covered and never seen anyway.


Sunday, May 19, 2019

Yesterday, I got the insulation in the walls about 90% done. There is a little bit left to do around the window.

Then I started insulating the ceiling just before Rob showed up, at which point he began to cut new studs for the ceiling.

After wiring the ceiling for lights, Rob started the drywall. We stopped because we need some longer studs (12 footers) for the wider part of the kitchen near the living room.


Sunday, May 12, 2019

The kitchen floor is completely done!  The back wall is done too.  I ran new wiring and GFCI outlets for some power  above the countertops.  We should be able to make toast soon, ha-ha.


Finally, Rob and I began putting fiberglass insulation in the back wall.  Next week Rob should be hanging the drywall.


Sunday, May 5, 2019

We got a little more progress on the joists / subfloor,  and rear wall.  Should have that all done next weekend then I'll have to run the new electrical outlets & switches.  Rob should be hanging the drywall the following week.


 Rob applying the construction adhesive for the subfloor:


Sunday, April 28, 2019

     Since buying this house in 2016,  I knew that the source of the water damage was the failed flat roof on the addition above the kitchen.   I knew it leaked bad, and I knew it leaked for a long time. 

    What I did not know for sure, but strongly suspected, was that the water was also running down around the outside of the chimney on the back wall of the kitchen.  The demo two weeks ago confirmed this.  Water had been pouring down the outside of the chimney because there was no roof slope  or flashing to divert it away or around the chimney.

The water not only rotted/destroyed the kitchen floor and back wall, but it eroded the stone foundation and the timber that acted as a sill for the rear wall to be built on.  See this photo:
 
There was nothing left to start building off of.

Rob and I had to pour concrete around the chimney and create a place to attach a  2 x 8  pressure treated sill plate.  From there we were able to create a pressure treated "header" type beam or ledger board. This was made from two 2 X 8's  sandwiching a piece of 3/4" plywood.

Finally we were able to install more floor joists and start framing out the new rear wall and doorway.