Saturday, May 30, 2020

Filling the Gaps (grout time)

The slate floor is done, Rob filled all the gaps with natural grey sanded grout today. The only thing that remains to be done is an application of sealer after 72 hours of cure time, and install the baseboard moulding down both sides of the hall.  The gray color of the grout will dry to a much lighter shade, but here are the pictures of the completed floor today.


    While Rob was grouting, I installed a bit more plywood on the kitchen floor and installed the last outlet box on the south kitchen wall.  After that, we joined forces and finished the wainscoting and baseboard moulding on that same south wall.  Only the chair rail moulding remains in the kitchen, then the vinyl flooring can be laid down.


update (6-6-2020)
   Chair rail done, and slate/grout has been sealed.
   

Sunday, May 24, 2020

Slate Tile Floor

   Rob did it! He is the man. The hallway and entranceway slate floor was installed today. Rob pretty much did the entire thing by himself, creating a repeating pattern that fit perfectly into the area with very minimal cuts. First he pulled the cement board up and applied a layer of thinset to the subfloor, then he re-installed the boards and screwed them down to the subfloor with 250 screws! Here he is when he started this morning.


After the cement board was all screwed down, Rob began laying down the slate tiles. With only two cut tiles (around the newel post) and two holes cut through the tiles for the radiator pipes, he worked his way down the hallway.


      While Rob was doing his thing in the hallway, I was cutting and fitting more plywood onto the kitchen floor. After bonding a few sheets with construction adhesive, I nailed them in place with the nail gun. Once I had enough sheets down, I bought in the new(old) 1946 GE refrigerator.


    Yes, the bottles of water and Rob's iced coffee was incredibly cold after just an hour in the fridge!
Rob finished up the floor except for a small section on the left side of the entranceway. This will be finished up next week when the grout gets installed!


looks good at 714 route 590


Saturday, May 23, 2020

When opportunity knocks......

     Yep, it's like the old saying: "When opportunity knocks..... open the door.  So, thats what I did. I opened the door and found it was clean and quite cold! So I bought it. A 1946 General Electric refrigerator.
      Truth be told, the house is not ready for appliances yet, but the price was right and just like the 1950's Royal Rose gas range I bought last summer, this fridge is a nice addition to the kitchen and compliments the old farmhouse sink and the glass front cabinets that will be going back in.
       This fridge works perfectly, needs very little cleaning and touch ups, and is incredibly quiet! I'll be bringing it up to the house tomorrow when Rob and I go up to work.

Edit (6-10-2010)  I found a blog entry about another fridge just like mine:  http://hartwoodroses.blogspot.com/2014/04/restoring-our-vintage-ge-refrigerator.html


Sunday, May 17, 2020

Flooring first.

     Yesterday Rob and I went to the house to work on the piano room, at least that was the plan.  When we arrived, I informed Rob that we needed to put the new 10 foot studs in the ceiling and then install a octagon box for the ceiling light.
      Rob said that I should complete the wiring and the outlet boxes in the wall first, which led to completing the lower third of the kitchen side of the wall, which led to completing the kitchen flooring first.
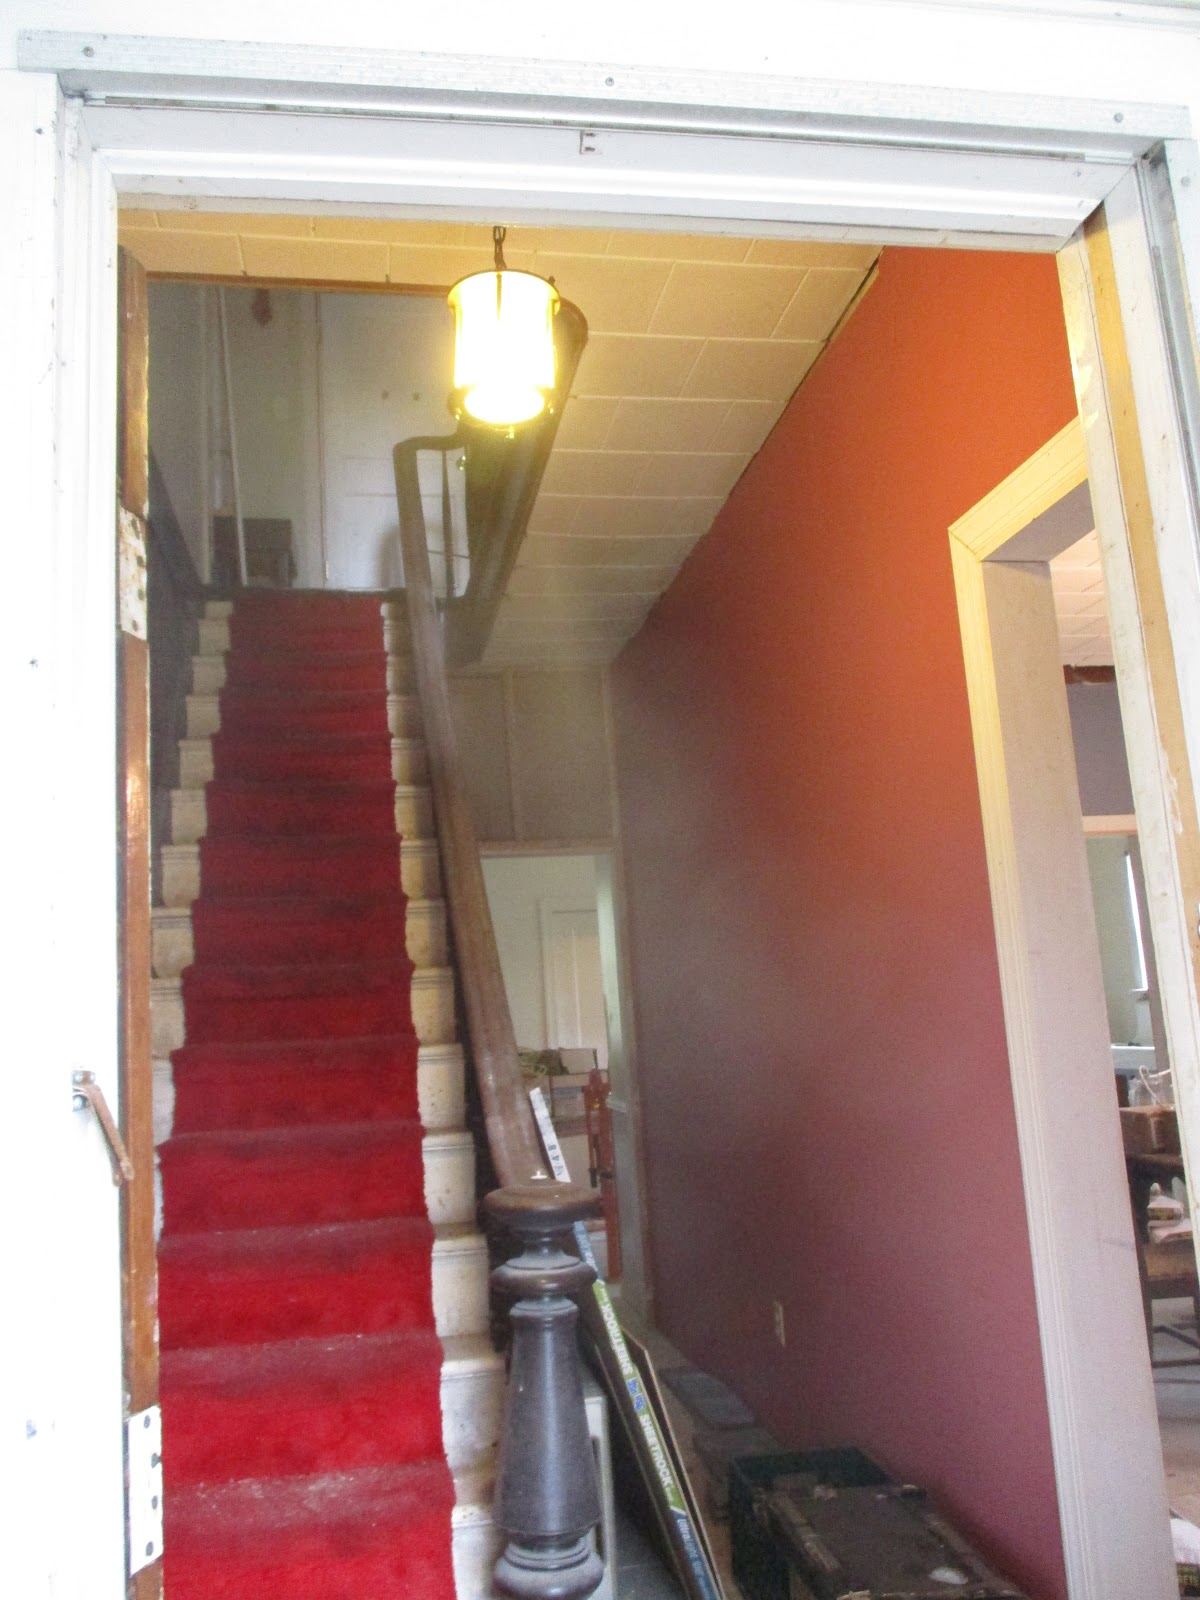
       You see, when we first began laying down the 3/4" subfloor in the hallway and dining room, we actually started in the corner of the kitchen nearest the stairway to the basement. In this area the subfloor goes under the new hallway/dining room wall we built.  However, as you can see in this photo from 2018, we never finished installing the subfloor at the top of the stairs. There has been a hole here with a board laid over it for two years now.
     

So, the first thing we had to do was to build a "saddle" between the kitchen and the living room for 
the subfloor to attach to. Then we installed the 3/4" subfloor.  Then we installed some 1/2" plywood on top of the subfloor to make the height of the floor match what was in the living room and what will be in the hallway.


Finally, we cut some 3/4" plywood which rested on top of our new plywood floor and was nailed to the wall studs to complete the kitchen side of the wall. 


Once that was done, I began installing joist hangers and collar ties on the existing ceiling joists in the piano room ceiling.  While I was doing that, Rob cut and fit all the 1/2" cement board for the hallway floor in preparation for installing the slate tile .


Wednesday, May 13, 2020

Delivery received.

    The eagle has landed!  I got my delivery from the lumber yard today, we should be off and running starting this weekend. I should give a big nod of appreciation to Dirlam Brothers Lumber in Shohola, PA for doing a great job once again. I've dealt with the guys down at Dirlam for the past four years and they are a pleasure to do business with. They always have what I need at very competitive prices, they are professional to deal with and offer free delivery on big orders. Their driver always gets the supplies right up near the porch too.
     So anyway, I got the goods. All the plywood, studs, drywall, cement board, nails, and screws are inside the dry house and ready to be installed. I snapped a few pics:


I installed the thermostat in the living room while I was there today. Lastly I converted the table saw into a TABLE saw! I'll post our work progress this weekend.


Saturday, May 9, 2020

Little progress

Not much worth photographing this week, all of the progress has been insignificant. I'm waiting on a lot of parts and supplies as well as a big lumber order.

I have plywood, sheetrock, cement board, 2X4's, nails, screws, and about a dozen other things scheduled to be delivered this week. Rob will be joining me next weekend, and we should be able to accomplish a good amount in the piano room and maybe some flooring done too.

For now I'll leave you with a few shots of the piano room torn down to the studs( massive 3" X 6" studs! ) and the electrical lighting working in the living room and hallway.